


Canon is one of the greatest brands that provide all the solutions for printer’s needs as it is considered as a one-stop store for all your printer needs. You can manually locate the correct driver model for your printer. Just kind within the model number of the printer and it will routinely find the relevant driver in your printer
So we will be discussing the steps for the canon ij setup with the easy steps.
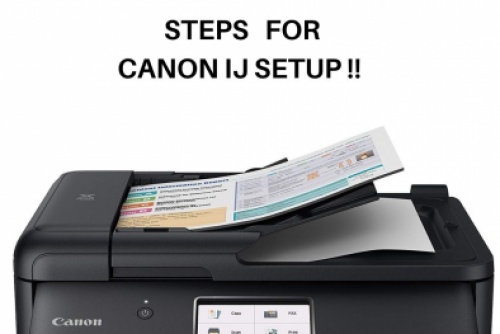
Steps For Canon IJ Setup
The first step is you need, to begin with, the steps for the ij start.
Check if the Canon printer becomes on. If the printer is cleaning, printing, or aligning the printhead, wait until the system is over.
In the Basic Network Information screen, choose the LAN Settings opportunity for http //ij.start.cannon.
Next, press Wireless LAN observed by way of manner of the Wireless LAN Setup choice.
Press the Easy Connect alternative and then choose out Yes in the Settings could be made on a computer or Smartphone, and plenty of others.
Tap OK as soon because the Connected to the Wireless Router message appears.
Next, install the driving force file on your machine.
Download the riding force record and run it as now you need to enter that proper Username and Password of the device to offer permissions for http //ij.start.cannon.
Select the Start Setup preference and observe the instructions to position in the IJ Start Canon on the printer.
Halfway through the installation, you will be introduced to go into the security key of the community which you need to hook up with.
The drivers can be mounted. Add your printer to finish the Canon IJ Setup technique efficaciously.
Tap the Add printer opportunity in the Add Printer window.
Choose the listing of applications to be installed.
IJ Start Canon
First of all, turn on the canon printer strength button.
And pick out the arrow button to pick out the “Device settings” alternative and faucet at the “Ok” button.
Select the “LAN settings” option and faucet at the “OK” button for ij.start canon.
Now you need to press down the arrow button once more and choose the setup for the wireless and tap on the “OK”.
The canon printer will look for the wi-fi community and the flash lamp will blink.
Select the Wi-Fi from the list to be had at the networks as proven at the printer display screen.
On the subsequent display, you have to enter the WPA/WEP key and tap on the “OK” alternative.
Again tap on the ok alternative to complete the wireless setup for ij.start canon.
Go to the internet site to download the printer driver and entire the setup process.
Now you need to visit the control panel and tap at the device and printer after which click at the add printer choice.
In the final step, the canon printer has been effectively established on the Windows PC.
Conclusion
We hope that now you are able to do the ij.start canon as we have explained with the steps above. If you are not able to do it then you can contact us.